Android Studio
Android Studio is a free JetBrains IDE for Android app development. Android Studio can also be used to develop C and C++ libraries that are packaged with an Android app. Rebel Engine for Android is a C++ library used to create Android games. If you want to contribute to Rebel Engine for Android, it makes sense to use Android Studio.
Open the Rebel Android project
In the Welcome to Android Studio window, select Open.
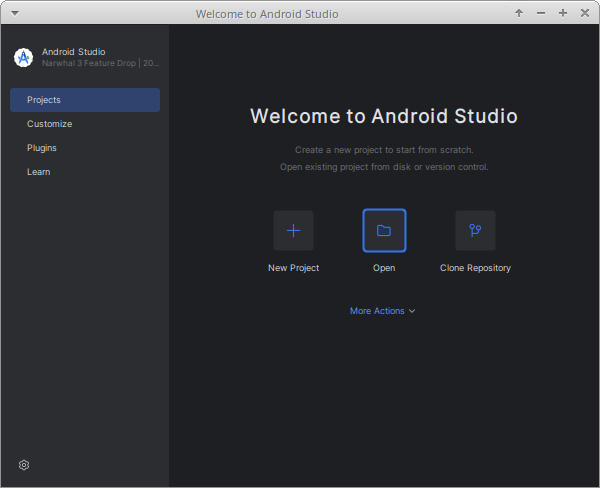
Welcome to Android Studio
In the Open File or Project window, from the RebelEngine root folder, browse to and select the platforms/android/project folder.
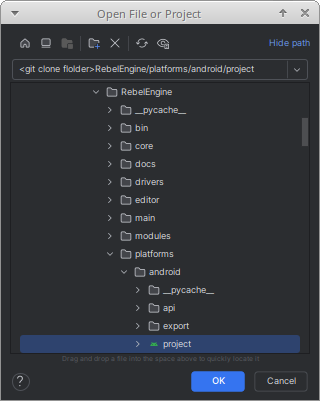
Open "RebelEngine/platforms/android/project" folder
Click OK.
Click Trust Project when asked whether to Trust and Open Project 'project'?
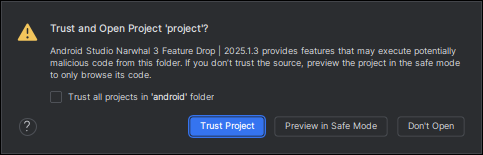
Trust the project
Wait for Android Studio to import the Gradle project.
When complete, the Rebel Engine source code can be found in the engine module's cpp folder.
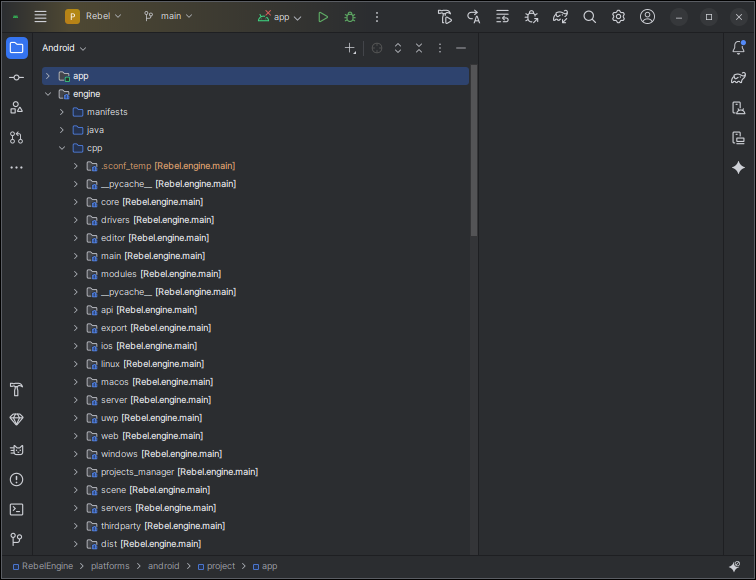
Android engine module cpp files
Configure the Rebel Gradle tasks
There are a number of Gradle tasks. These tasks can be used to build debug and release versions of Rebel Engine for Android. Rebel Engine for Android supports multiple architectures. There are tasks for each of the supported target architectures. There are also tasks for building all the targets simultaneously. Finally, there are tasks to create the release and debug versions of the Rebel Android templates.
To configure the Gradle tasks in Android Studio, you will need to enable the Gradle Setting. From the menu select File > Settings….
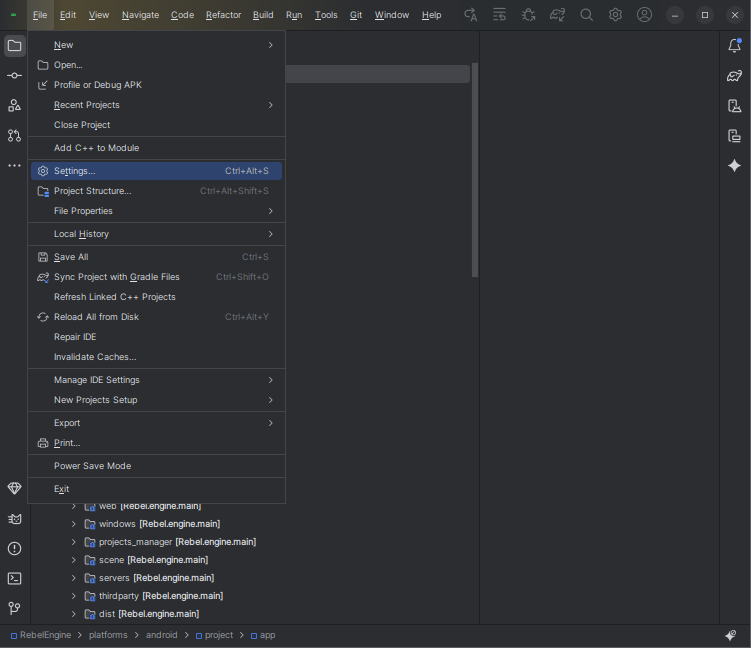
Settings…
Under Experimental, enable Configure all Gradle tasks during Gradle Sync (this can make Gradle Sync slower).

Configure all Gradle tasks during Gradle Sync (this can make Gradle Sync slower)
Click OK to save the setting.
Sync the project with Gradle again.
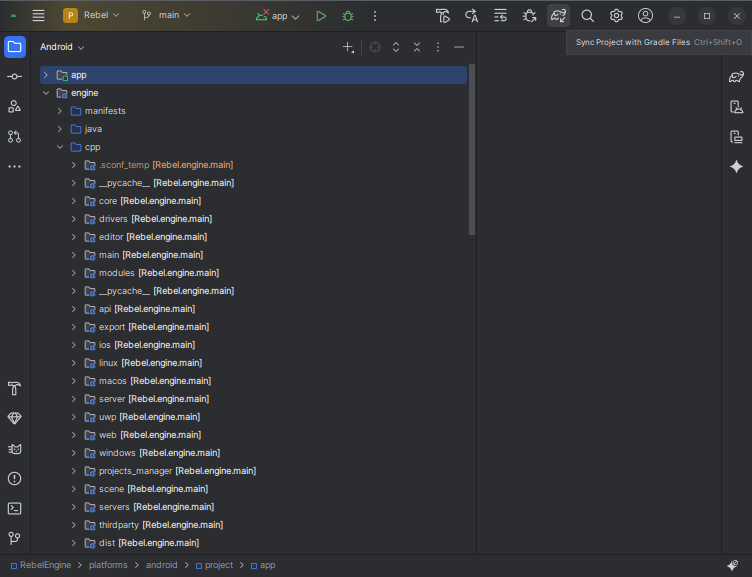
Sync the project with Gradle Files
Under the Gradle menu, you will now see all the Rebel Android tasks.
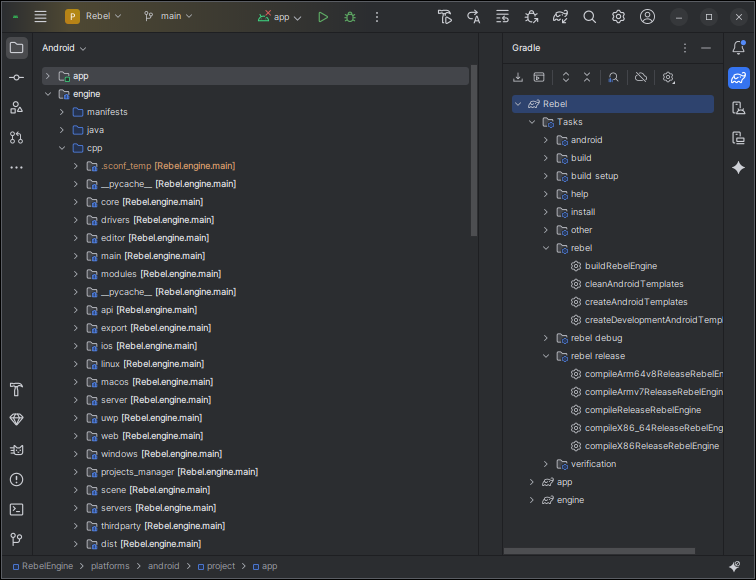
Rebel Gradle tasks
Hover over the tasks to see a description.
That's it! You're now ready to start contributing to Rebel Engine for Android using Android Studio.