Visual Studio Code
Visual Studio Code (also known as "VS Code"), is a cross platform IDE created by Microsoft. Visual Studio Code should not be confused with Visual Studio. Visual Studio Code is proprietary software released under the "Microsoft Software License". However, it is based on the MIT licensed program named Visual Studio Code – Open Source (also known as "Code – OSS").
Ensure you have configured VS Code for C++. For more information, see the Visual Studio Code guides for configuring VS Code for C++: https://code.visualstudio.com/docs/cpp/introvideos-cpp
Importing Rebel Engine
From the File menu, select Open Folder….
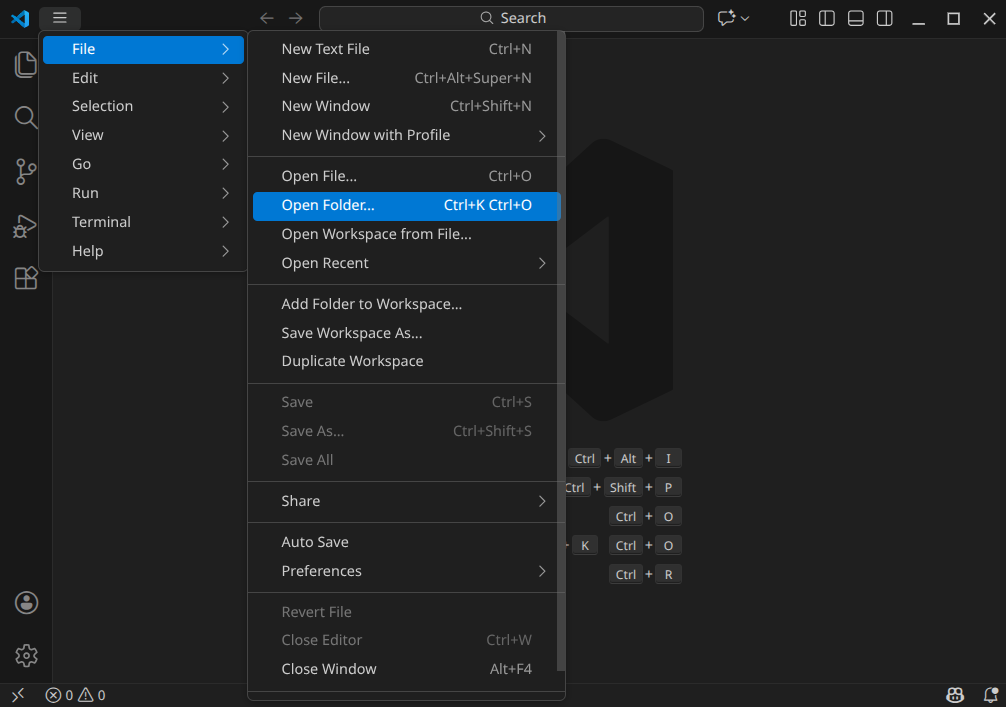
File, Open folder
Browse to and open the Rebel Engine root folder.
When prompted, select Yes, I trust the authors.
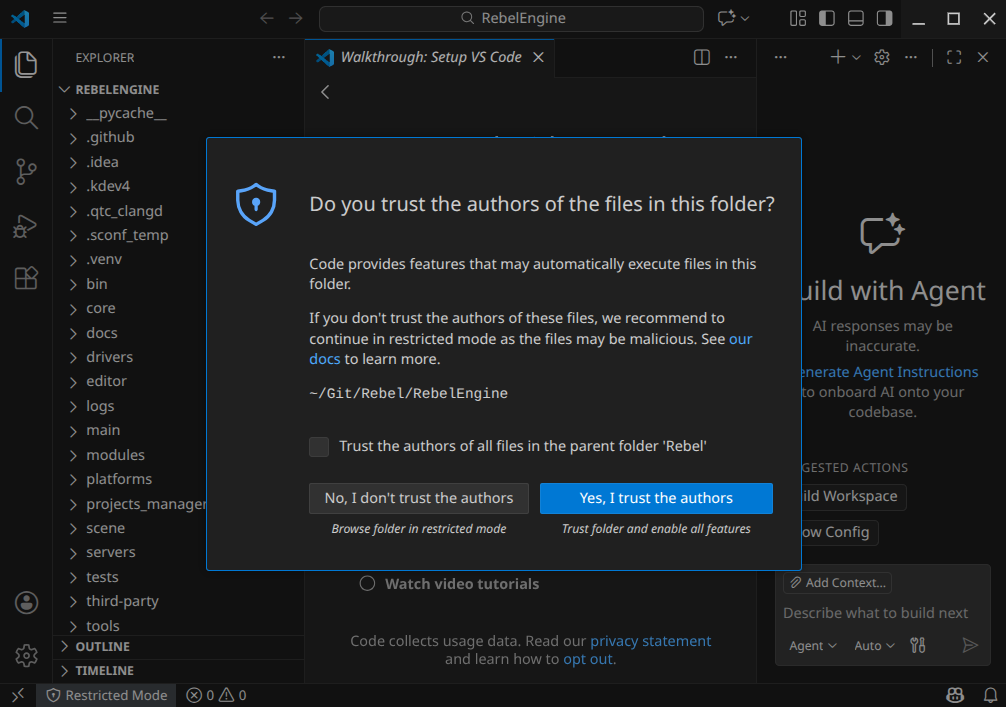
Trust the authors
Configure Build Tasks
From the Visual Studio Code's main screen, press Ctrl+Shift+P to open the command prompt window.
Type configure task, and select Tasks: Configure Task.
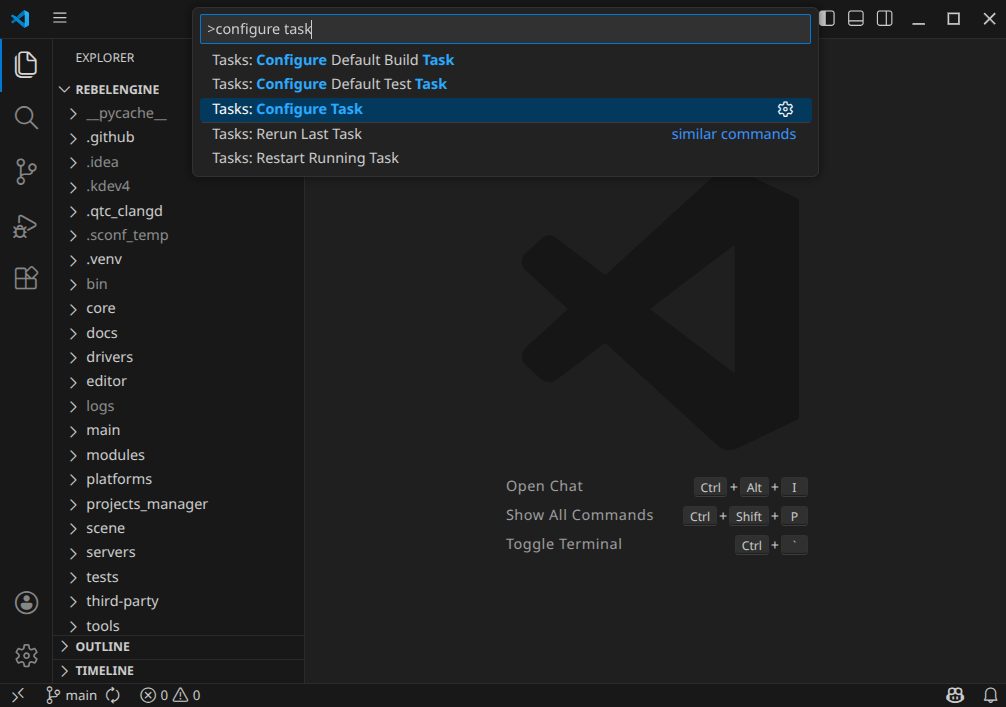
Tasks: Configure Task
Select Create tasks.json file from template option.
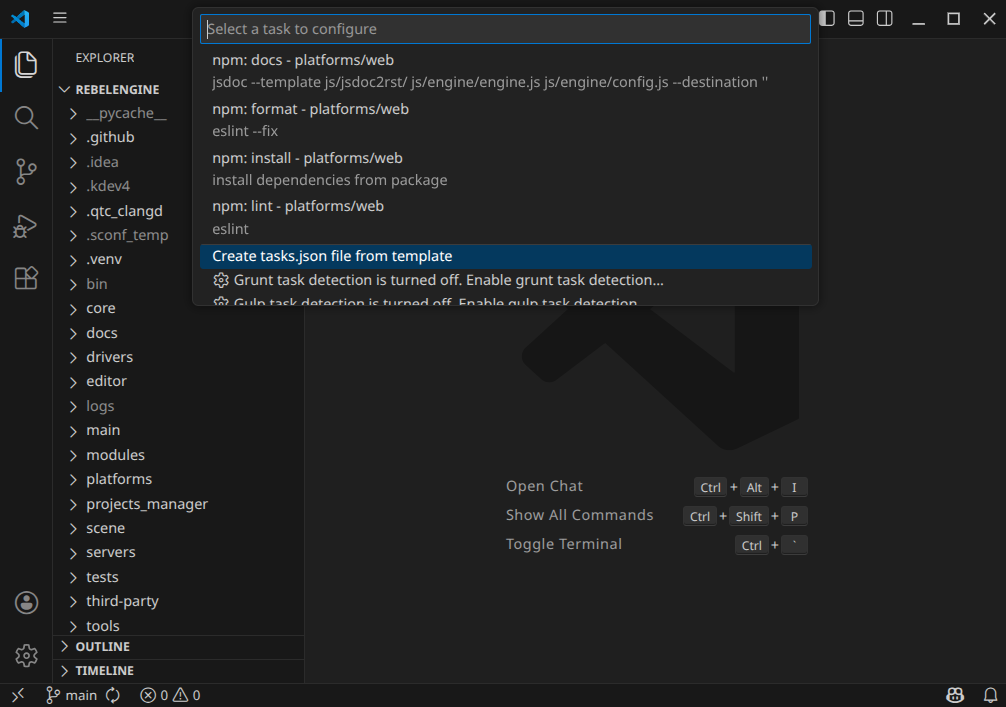
Create tasks.json file from template
Select "Others Example to run an arbitrary external command" task template.

Select Others task template
Here we create our build tasks. For each build variant, we need to define the following:
label: This can be anything that helps you identify the build variant.
group:
buildtype:
shell.command:
sconsargs: An array containing the build arguments.
problemMatcher:
$gcc
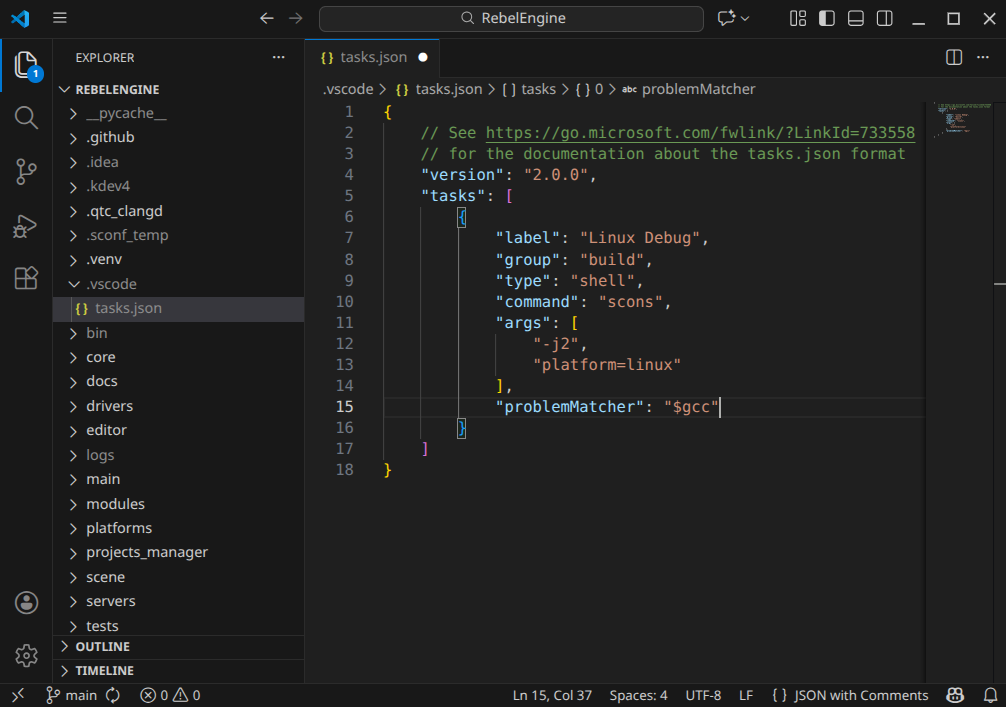
Create a SCons build task
For more information on using SCons. and the build options used to compile Rebel Engine, see Introduction to the buildsystem.
For more information on the tasks.json format, see https://go.microsoft.com/fwlink/?LinkId=733558
You can now build Rebel Engine. Press Ctrl+Shift+B, and select your build task.
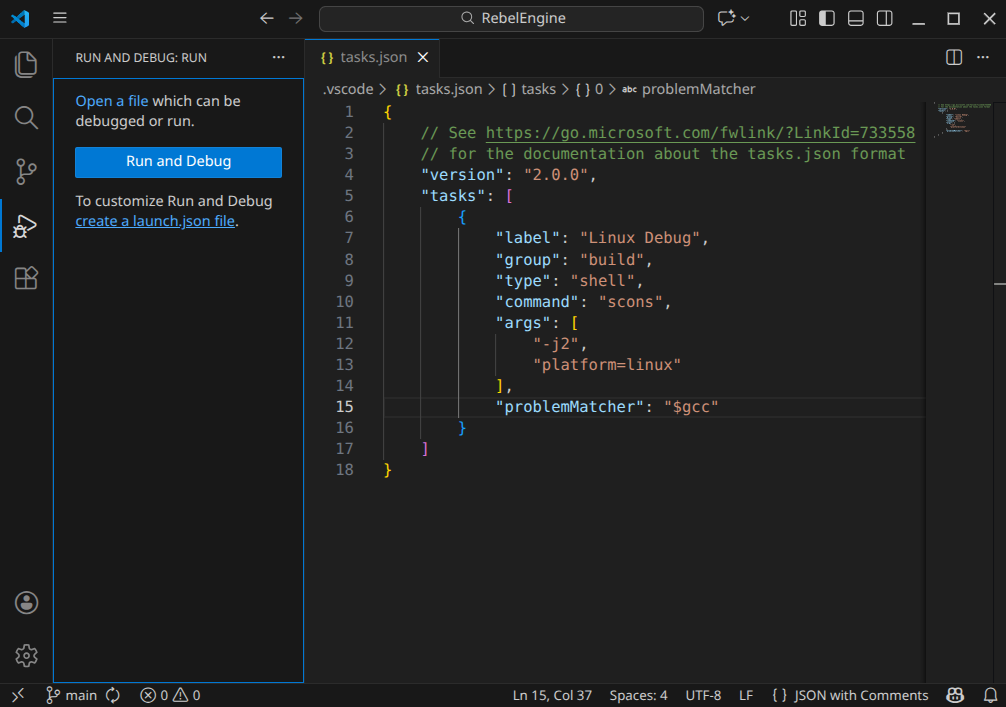
Run and Debug Rebel Engine
Create a launch.json file.
On the left-hand side, Run and Debug icon (the triangle with the bug) or press Ctrl+Shift+D.
Create a launch.json file
Click create a launch.json file.
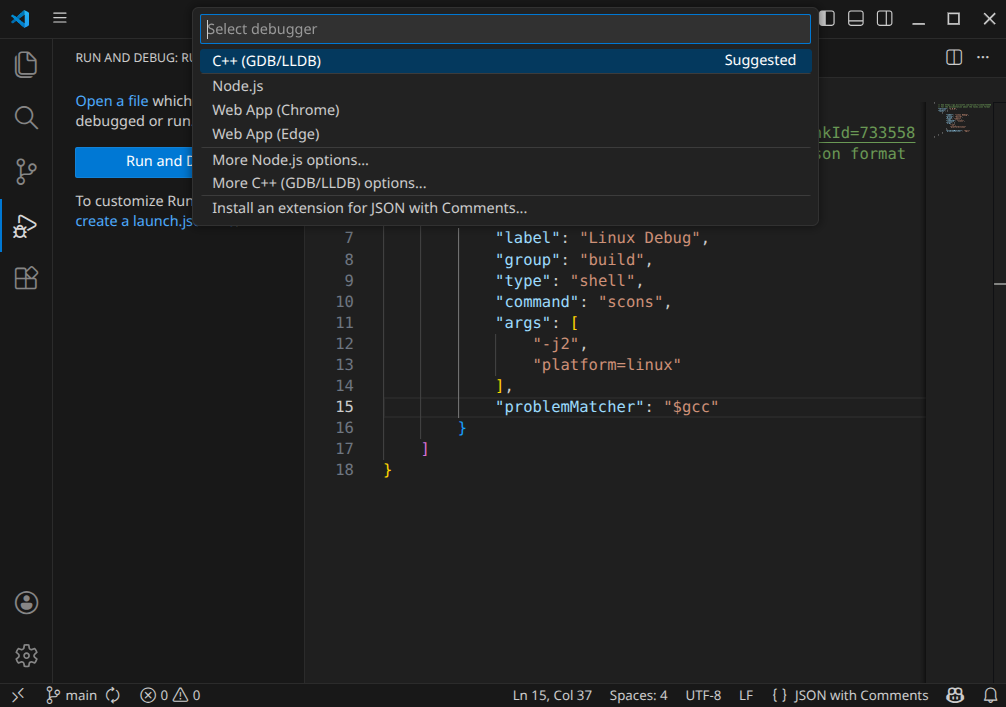
Select C++ (GDB/LLDB)
Select the suggested C++ (GDB/LLDB) debugger.
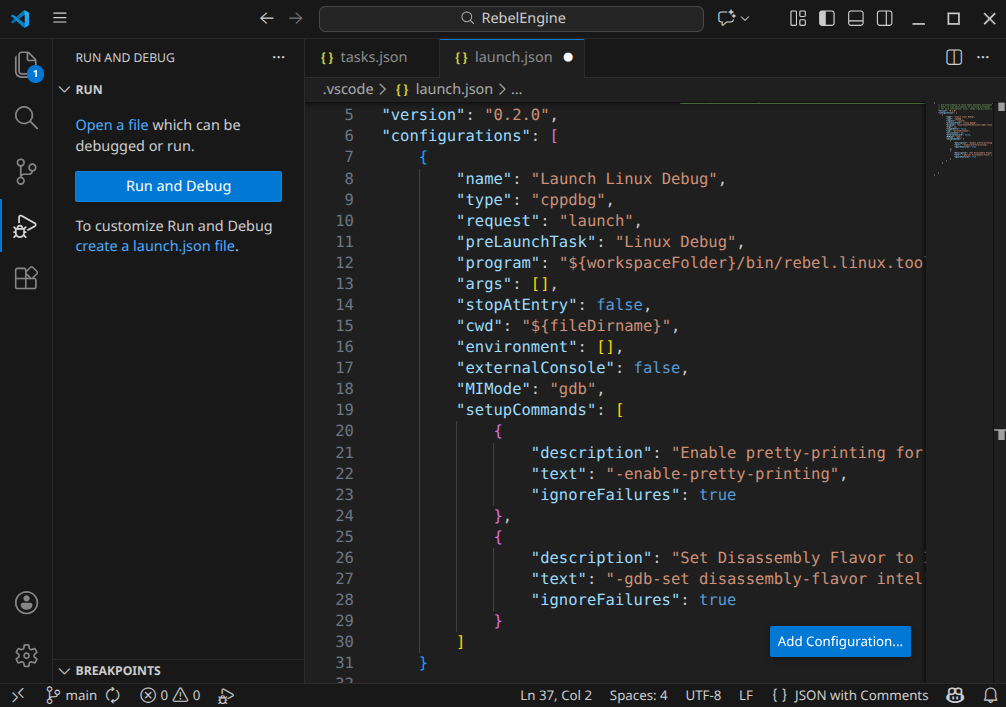
Add a {} C/C++: (gdb) Launch configuration. If necessary, use the Add Configuration… button to get the template prompt.
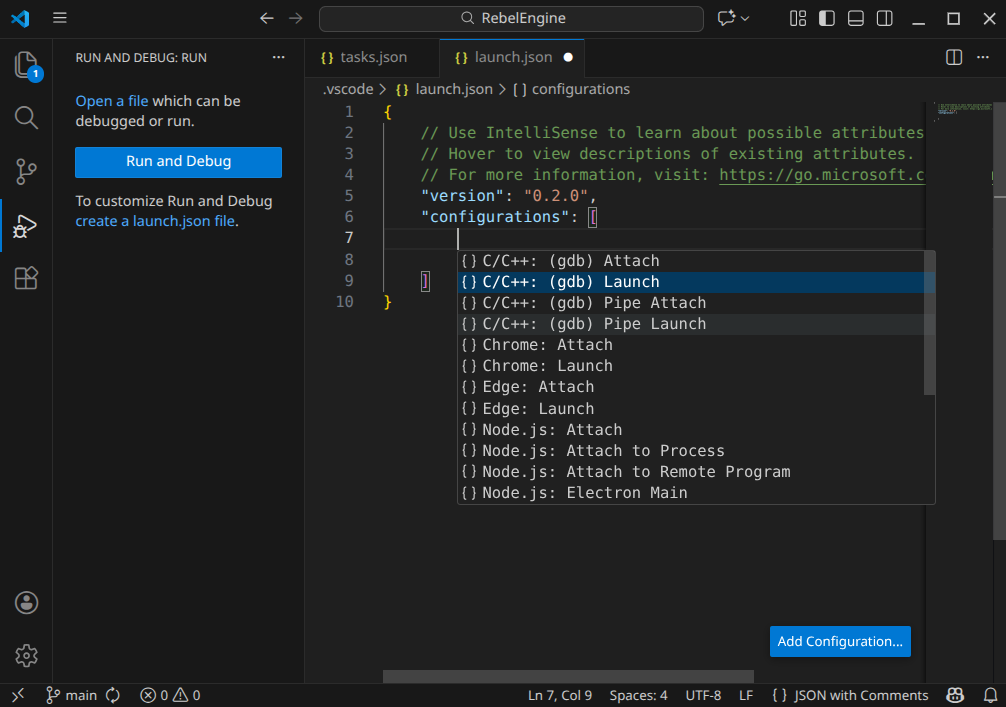
Add {} C/C++: (gdb) Launch configuration
By using the right template, most of the fields are completed for us.
However, we need to specify the program field.
This needs to be the name of the Rebel Engine executable in the bin folder that was created by the build task.
For example ${workspaceFolder}/bin/rebel.linux.tools.64.
We also want to ensure the build is updated before launching the debugger. Add the field preLaunchTask, and set it to the name of your build task.
It is also useful to set the launch configuration name. Use a name that ties the launch configuration to the build task.
Specify the launch configuration
For more information on launch configurations, see https://code.visualstudio.com/docs/debugtest/debugging-configuration
Save the changes. You can now run and debug Rebel Engine. Click the green, right-pointing triangle or press F5.
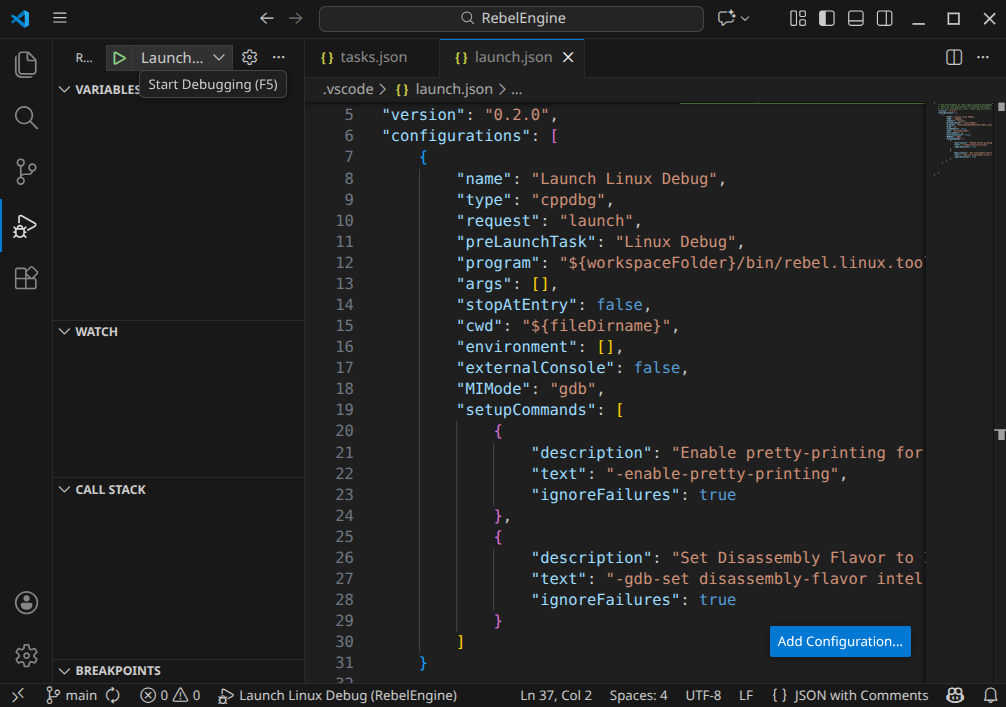
Launch and Debug Rebel Engine
That's it! You're now ready to start contributing to Rebel Engine using Visual Studio Code.