CLion
CLion is a commercial JetBrains IDE for C++. However, CLion is free for non-commerical use. As Rebel Engine is an open source project, CLion can be used for free to contribute to Rebel Engine.
Open the Rebel Engine project
In the Welcome to CLion window, select Open.
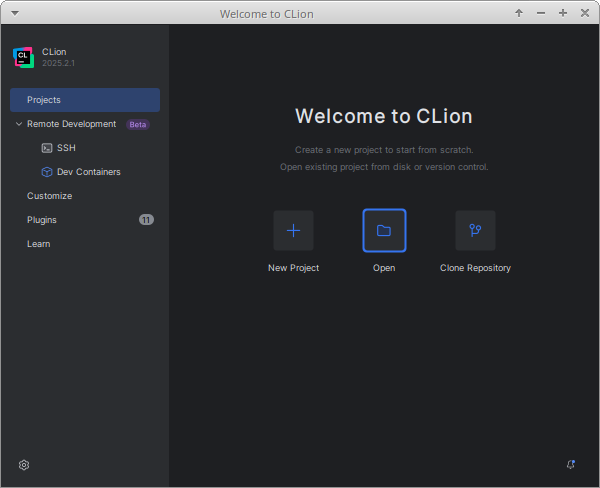
Welcome to CLion
In the Open File or Project window,
browse to and select the RebelEngine root folder.
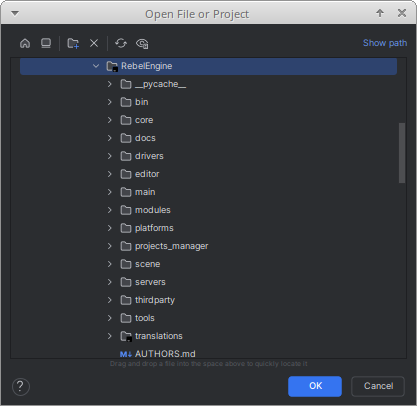
Open the RebelEngine folder
Click OK to open the project.
Rebel Engine includes a Basic CMakeLists.txt file that CLion can use. However, Rebel Engine does not use CMake. Rebel Engine is compiled using SCons. For details on compiling Rebel Engine using SCons, see Introduction to the buildsystem.
SCons will create a compilation database file that CLion can use. If you have previously built Rebel Engine using SCons, you will have two project configurations. CLion will prompt you to choose one.
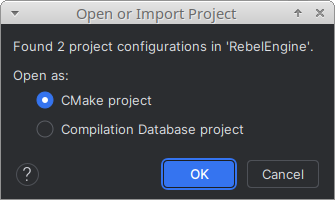
Choose Open as a CMake project
Although Rebel Engine doesn't use CMake, we recommend using the CMake project option. This will enable the CLion code analysis tools. We will configure the SCons builds manually later. Click OK to open the project.
If you chose to open the CMake project, you will be presented with the Open Project Wizard. We don't use CMake to build the project; so these settings won't be used. However, it's worth selecting the Reload CMake project on editing CMakeLists.txt or other CMake configuration files option.
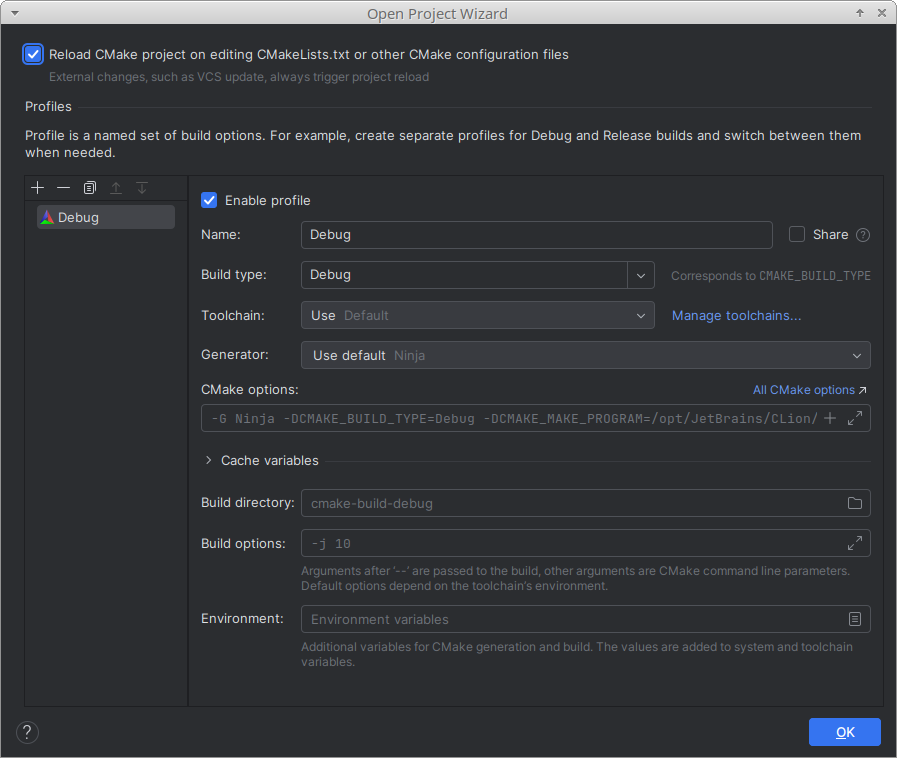
Reload CMake project on editing CMakeLists.txt or other CMake configuration files
Click OK.
Rebel Engine in CLion
Create a Build Configuration
Rebel Engine uses SCons as the build system. We need to create the build configurations manually. From the configurations menu, select Edit Configurations….
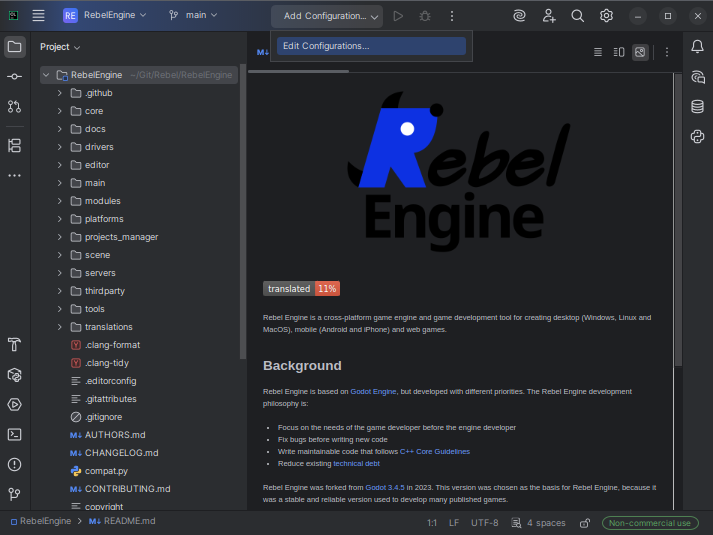
Edit Configurations…
To add a configuration, click the + icon in the top-left corner. From Add New Configuration, select Custom Build Application.
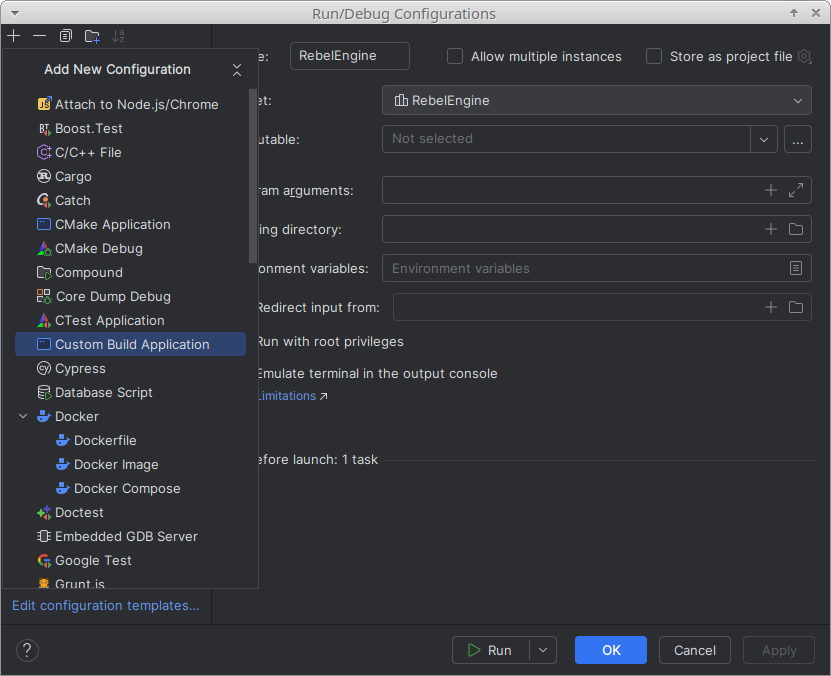
Add a new Custom Build Application configuration
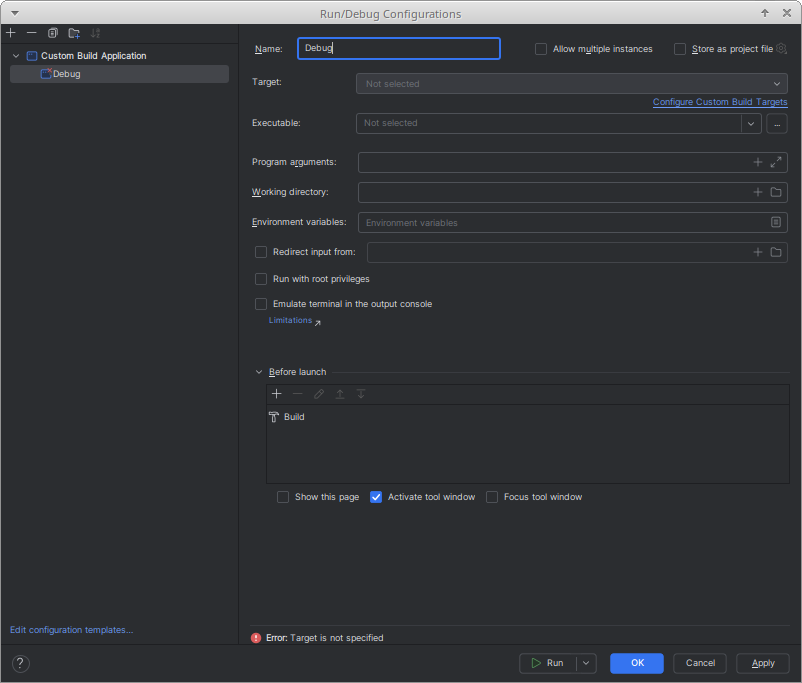
You will probably create multiple build configurations. Name each run configuration, so you can easily identify it.
Each run configuration needs a build target. Select Configure Custom Build Targets.
Name Configuration and Configure Custom Build Targets
From Add target, select Tool.
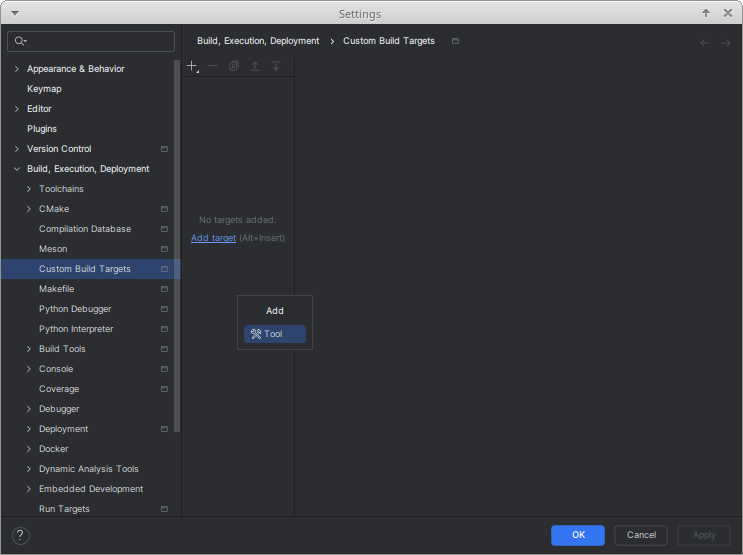
Add a new Target, Tool
Name your build target. It makes sense to give your build targets the same name as your run targets.
You will need to create a new build tool.
To the right of the Build drop-down list,
click the three dots: ….
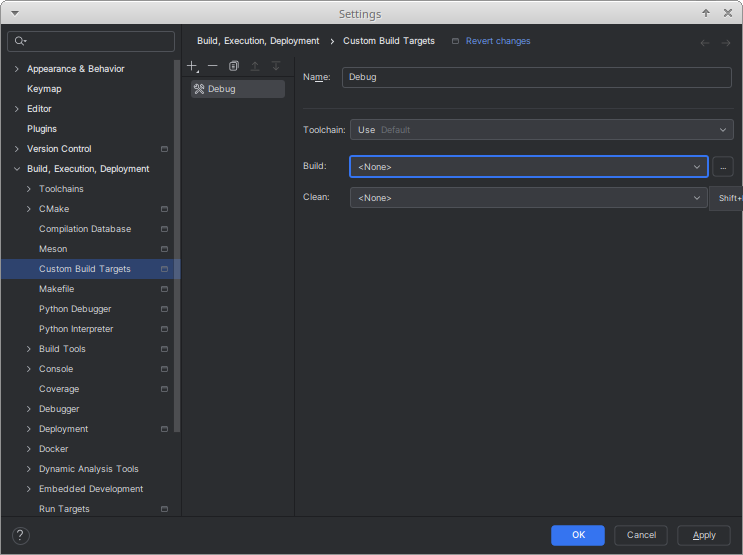
Name the Target the same as the Configuration and add a new Build tool
Click the + icon in the top-left corner to add a tool.
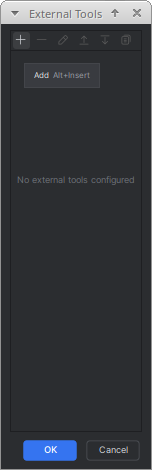
Add a new Tool
Name your build tool. Again, it makes sense to give your tools the same name as your targets.
Under Tool Settings, Program, type scons.
Under Arguments enter the arguments for this target.
For more information on the arguments available, see Introduction to the buildsystem.
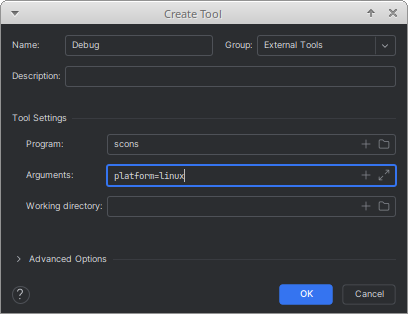
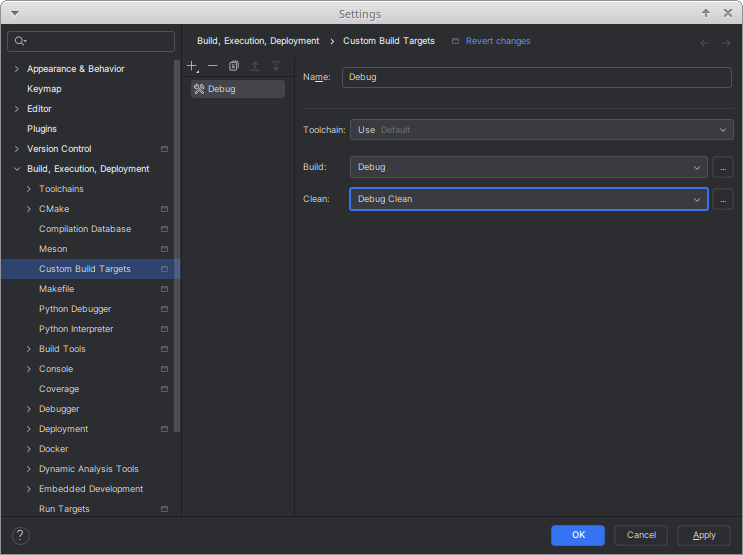
Name the Build tool the same as the Target and Configuration
Click OK to save the build tool.

Select your new build tool
Click OK to select your new build tool.
Now, create a new clean tool.
To the right of the Clean drop-down list, click the three dots: ….

Add a new Clean tool
Click the + icon to add another tool.
Name your clean tool.
It makes sense to give your clean tool the same name as your build tool, but add Clean to the name.
Use the same arguments for the build tool, but add the --clean argument.

Name the Clean tool the same as the Build tool with Clean
Click OK to save the clean tool.
Select the new Build and Clean tools
When you have finished creating and selecting the build and clean tools, click OK to save the new build target.
Save the new Configuration
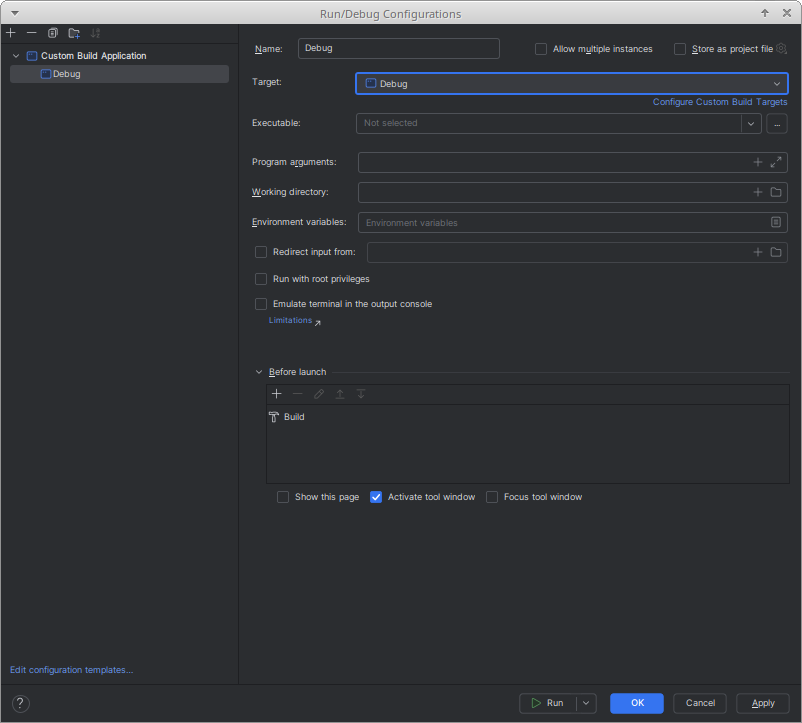
You can now select your new target for your run configuration. Click OK to save your configuration.
Run and Debug Rebel Editor
Once you have created a build target, you can build your selected configuration. If you want to run and debug a Rebel Editor build on your platform, you will need to specify the executable created.
Although you can simply enter the location and name of the executable, it is easiest if you build Rebel Editor first. Once you have completed the build, you can add the executable by browsing to it.
Edit your configuration. If you try run a configuration without specifying the executable, you will be prompted to add an executable.
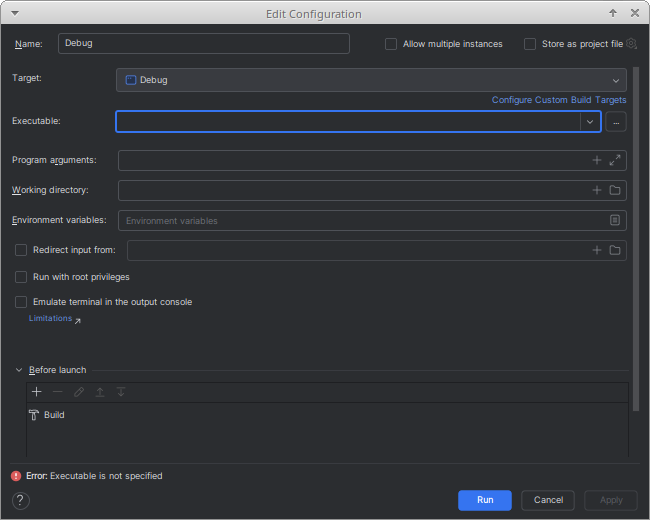
Specify the executable
To the right of the Executable drop-down list,
click the three dots: ….
Browse to the bin folder, and select the created executable.
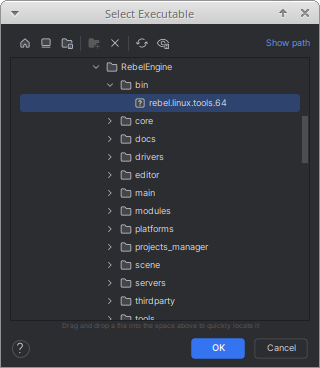
Select the created executable in the bin folder
Click OK to save the specified executable for your configuration. You will now be able to run and debug the Rebel Editor build.
There are two additional configuration fields worth noting:
The Program arguments field can be used to run and debug Rebel Editor with additional program arguments.
If required, the Working directory field can be used to test specific projects. Set it to the folder containing the
project.rebelfile.
That's it! You're now ready to start contributing to Rebel Engine using the CLion IDE.